254

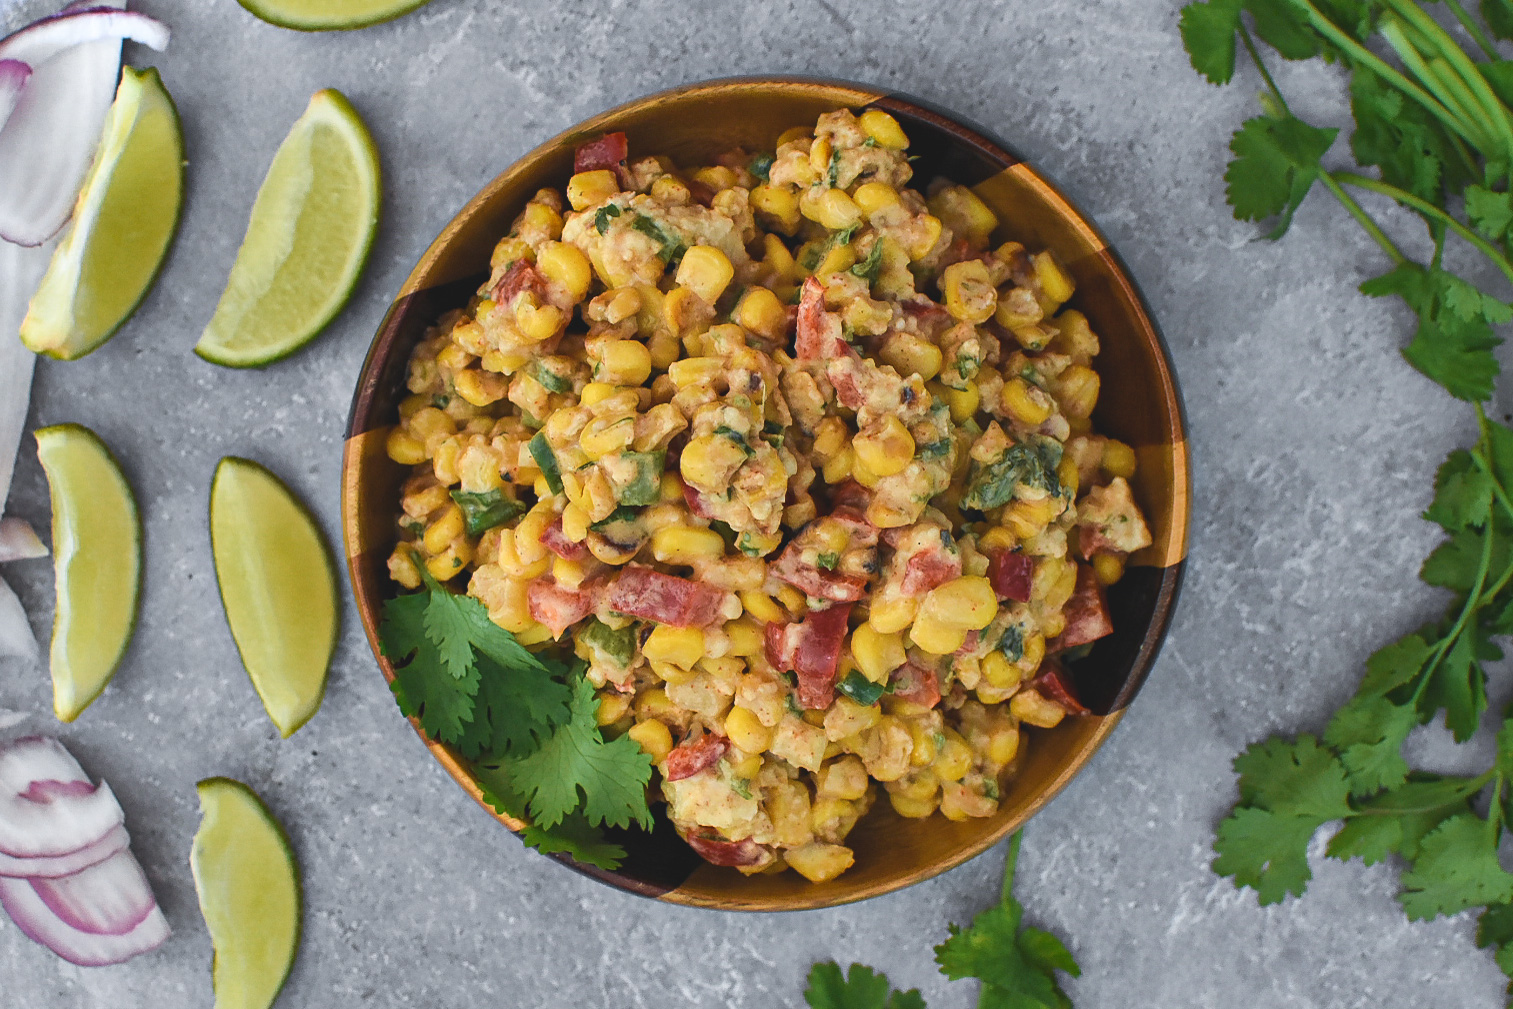

Mexican Street Corn Salad
A twist on classic Mexican Street corn turned into a summer salad!
Print
Pin
Rate
Servings: 10
Calories: 230kcal
Equipment
- 1 large skillet
Ingredients
Roasted Corn
- 4-5 large ears of corn (about 5 cups), substitute frozen (don't defrost)
- 2 garlic cloves, minced
- 2 tablespoons (30 g) butter
- 1/2 teaspoon Diamond Crystal kosher salt, more to taste (see notes)
- 1/2 teaspoon black pepper, more to taste
Dressing
- 1/2 cup (45 g) Parmesan cheese, grated
- 1/4 cup (70 g) full fat plain Greek yogurt, substitute sour cream
- 1/4 cup (56 g) light mayonnaise,
- 1 tablespoon (15 g) fresh lime juice
- 1 teaspoon lime zest
- 1 teaspoon cumin
- 1 teaspoon chili powder, more to taste
- 1 teaspoon smoked paprika, substitute regular
- pinch of salt, more to taste
Mix Ins
- 1 red pepper, seeded and stemmed, diced
- 1/2 small red onion, finely chopped
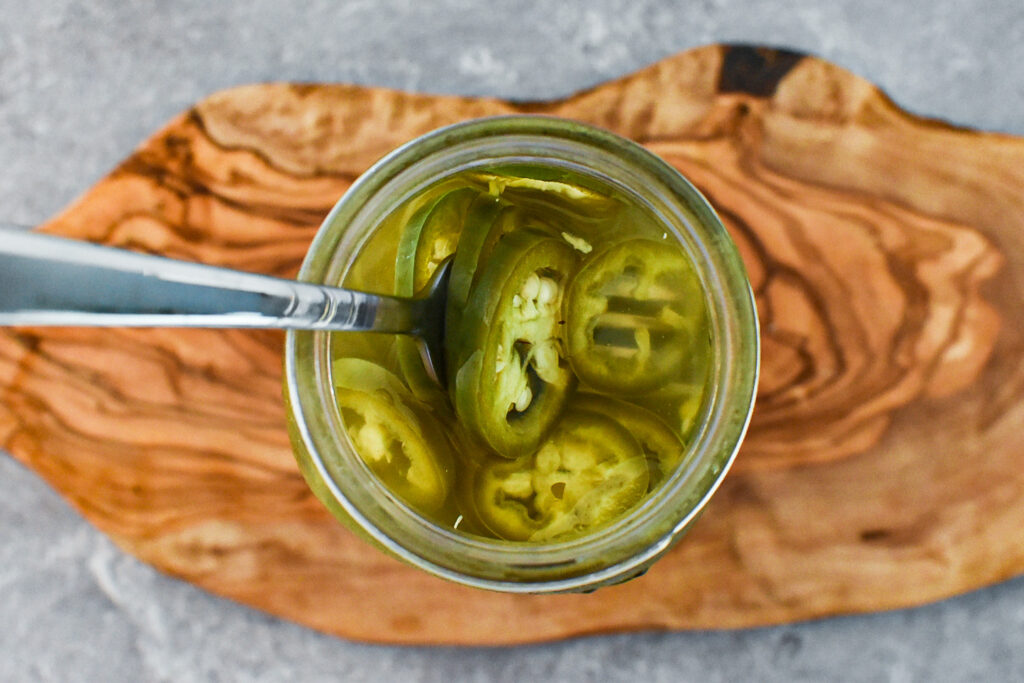
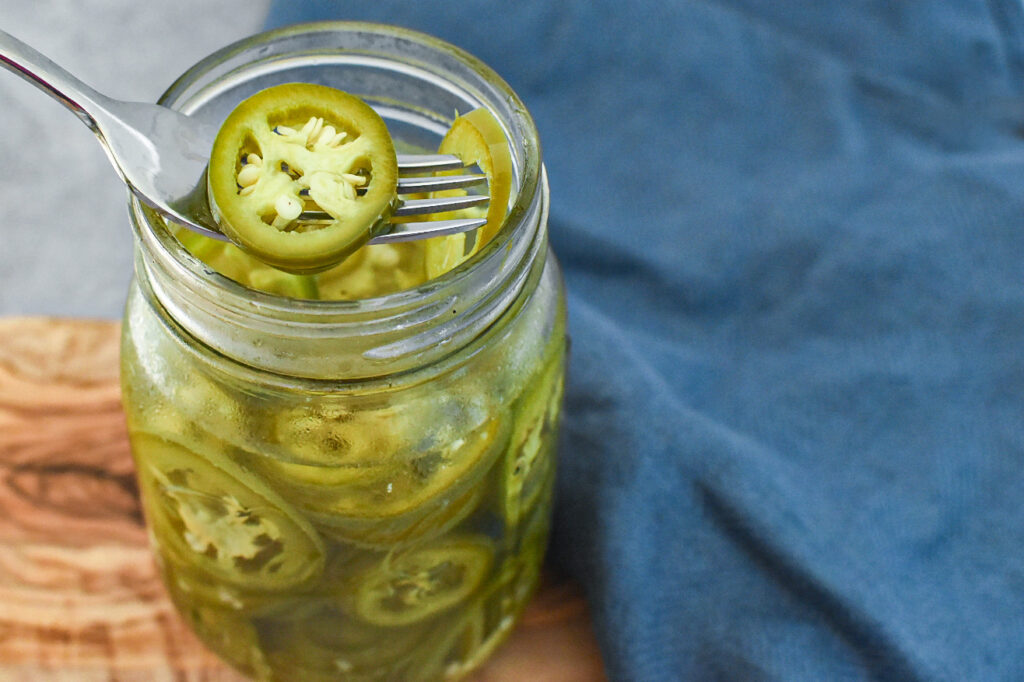
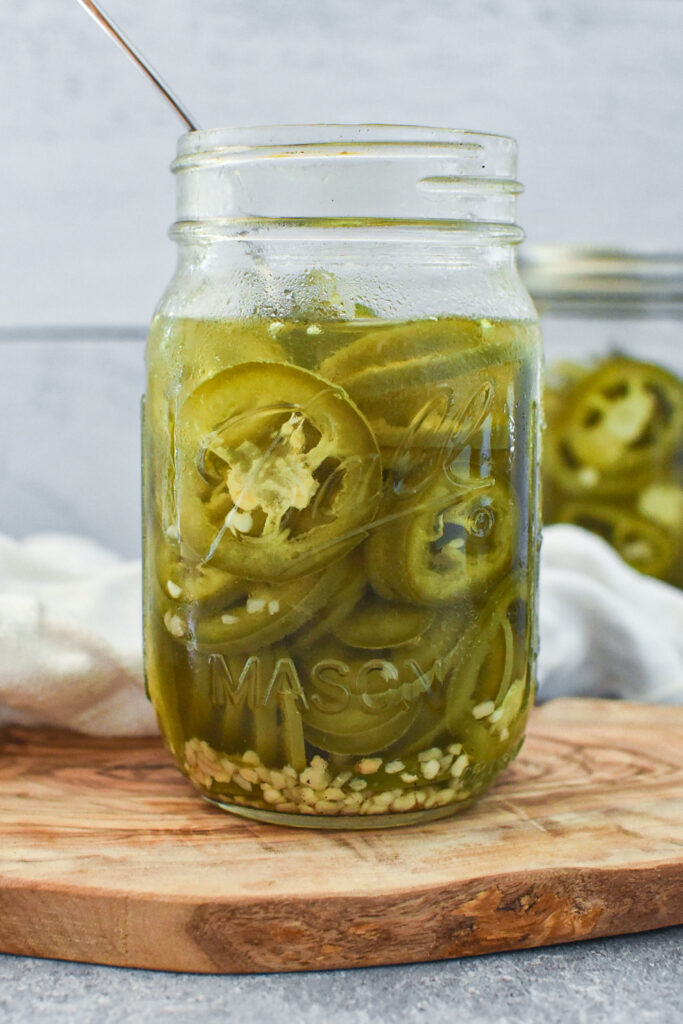
- 1 small jalapeño, seeded and stemmed, finely chopped
- 4 scallions, thinly sliced
Garnishes
- 1 cup cilantro leaves, roughly chopped
- 3 ounces (90 grams) Cotija cheese, (substitute feta) finely crumbled
Instructions
Prepare the Corn
- Shuck the corn and cut the corn off of the cobs. If you are using frozen corn, don't defrost it (canned doesn't work well here).
- In a large saucepan over medium heat, melt 2 tablespoons of butter. Add the garlic and stir for approximately 30 seconds or until fragrant .
- Add the corn to the skillet, season with salt and pepper, and cook for 10 to 12 minutes, stirring occasionally. You will want the corn to char, and so avoid stirring too often. Cook more as needed if you like more of a char. Remove from the heat and transfer to a large bowl.
- Prep the Dressing: In a medium bowl, stir together the mayonnaise, Greek yogurt (or sour cream), Parmesan cheese, lime juice, lime zest, smoked paprika, cumin, chili powder, and a pinch of salt.
- Toss the Ingredients Together: In the large bowl, mix the corn and dressing together. Stir in the red pepper, red onion, jalapeño, and scallions. Toss to combine evenly. Taste, and add more salt, pepper, and/or chili powder to taste.
- Garnish, Serve & Enjoy: Allow the corn to cool, then stir in the Cotija cheese and cilantro. Transfer to the refrigerator and serve cold. This dish tastes better if you allow it to sit for 1 to 2 hours. The salad will last for approximately 3 days in the refrigerator and stored in an airtight container.
Notes
Recipe adapted from RecipeTin Eats Mexican Corn Salad
- If you don't have Diamond Crystal kosher salt, use about a 1/4 teaspoon of table salt to start and add more as needed. Table salt is more salty than Diamond Crystal.
- You can add more or less jalapeño. Leave the seeds in if you like it really spicy!
- Fresh corn is AMAZING in this recipe, but I've also made it with frozen (in a pinch) and it's just as delicious!
- Sometimes I drizzle a bit of sriracha for extra zest.
Nutrition
Calories: 230kcal

1 comment
Love these! Just the right amount of spice and sweetness