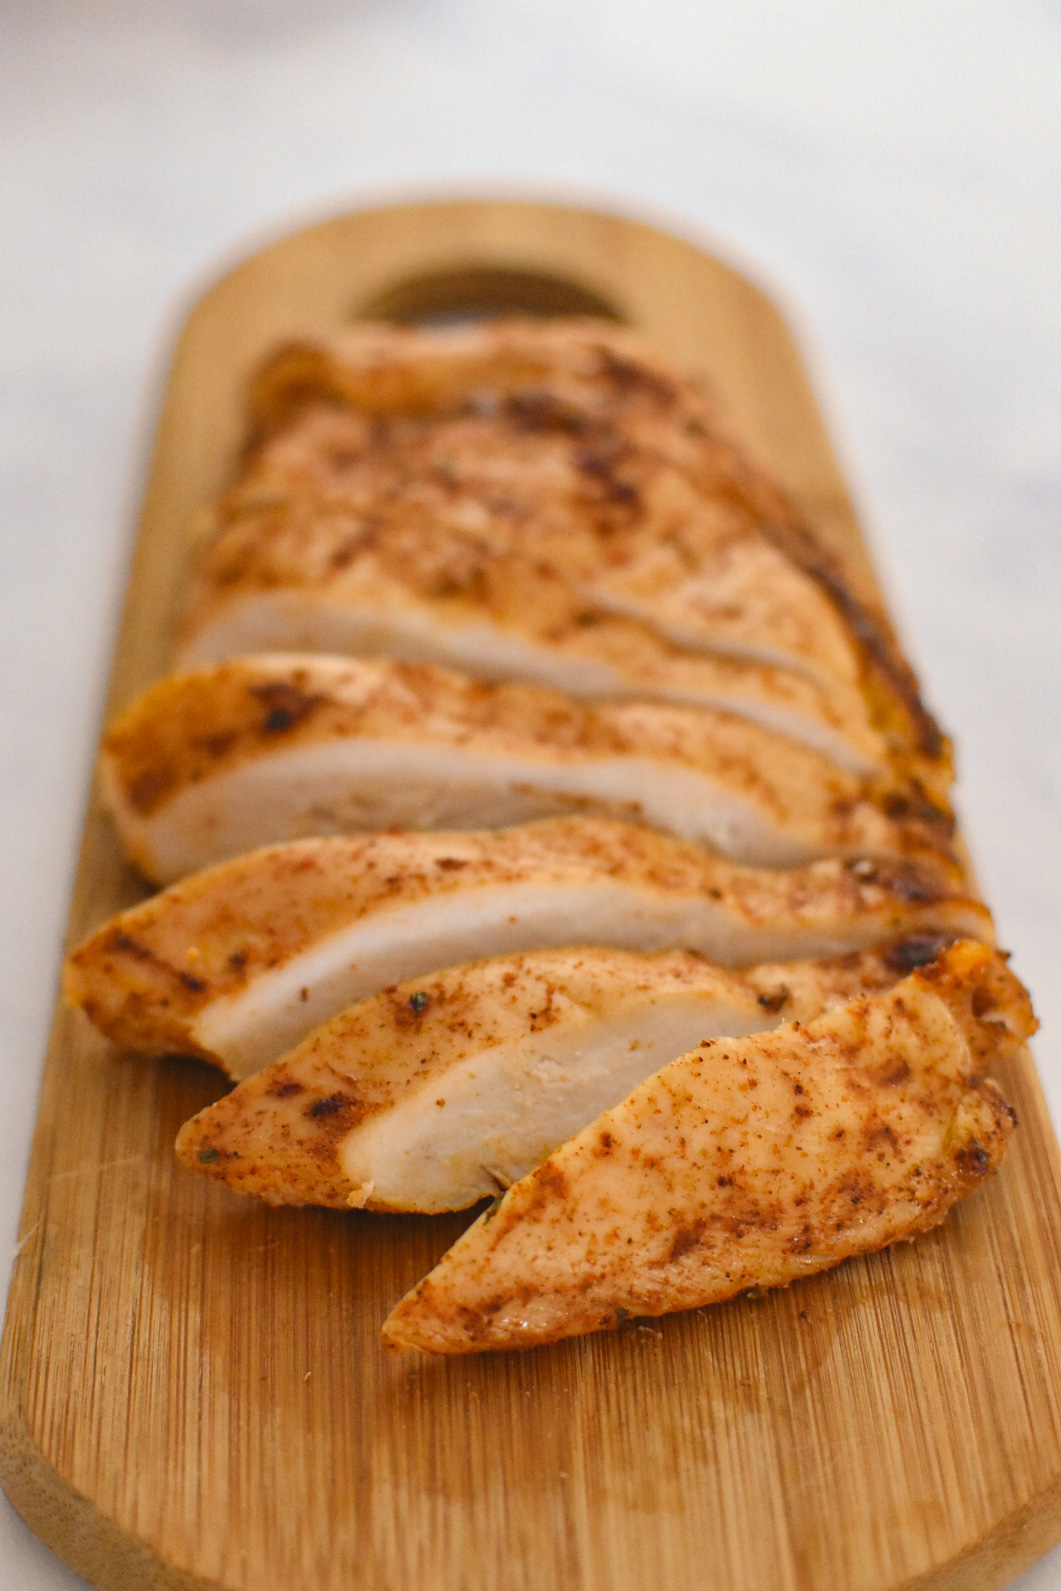
Juicy Baked Chicken

by Caroline
Published: Last Updated on

This simple and juicy baked chicken recipe is the perfect accompaniment to any salad, dinner, meal prep, or even pizza. The seasoning is slightly sweet, salty, savory and pairs well with most dishes. The recipe can be easily modified according to your taste. 

Chicken is the perfect staple for meal prep because it can be used in a variety of recipes. I enjoy baking chicken at the start of the week to have on top of salads, in wraps, or to freeze for a week when I’m in a pinch for time. 

When time allows, we love smoking the chicken on Ryan’s grill, but sometimes it’s just easier to turn on the oven and bake it. 

This is my go-to recipe because the seasoning pairs well with most dishes, and the chicken turns out perfectly moist and juicy every time. 

Prep the Chicken

A little prep work pays off! 

To start, you need to make sure that your chicken breasts are mostly the same thickness.  

I like to pound the chicken so that it is about 3/4 of an inch thick. However, it is personal preference. This helps the seasoning penetrate the meat and also ensures even cooking. 

When you pound the chicken, it tenderizes the meat. It also helps prevent smaller pieces of chicken (or thinner areas on the same breast) from cooking quicker and drying out. 

If you don’t own a meat mallet, I highly recommend investing in one (they’re like $12 on Amazon. OXO is a decent brand). Don’t own one? Check out this article on All Recipes for some ideas. 

juicy baked chicken

Achieving Juicy Chicken Starts with Salt

I recently read Samin Nosrat’s cooking book Salt Fat Acid Heat and let me tell you: It was life changing. One of the biggest takeaways for me was her use of salt. 

I’m ashamed to admit that I was previously using iodized table salt for cooking, not realizing what a DIFFERENCE it would make using Kosher salt. 

Diamond Crystal kosher salt dissolves twice as quickly as granulated salt, and the quicker it dissolves the less likely you are to over-salt a dish. It also sticks to surfaces better because of its increased surface area. 

I like to rub the salt right into the meat, but you can sprinkle it on. Just make sure it’s evenly coated. 

What Kind of Salt Should I Use??

When I read Samin’s chapter on salt, I’m pretty sure I was sitting with my mouth hanging open when I read about the difference in weight of salt – even Mortons vs. Diamond Crystal kosher salt.

Here’s a quick reference from Salt Fat Acid Heat (pg. 43):

9.75 g Diamond Crystal Kosher Salt = 14.75 g Morton’s Kosher Salt = 18.6 g Table salt” 

Since I (now) primarily use Diamond Crystal kosher salt, I would normally double the amount of salt if the recipe calls for table or Morton’s. A lot of King Arthur recipes, for example, use table salt. 

Salting Chicken = Dry Brining

Salting the chicken is also known as dry brining. The application of salt brings the moisture to the surface. This process changes the protein muscles and allows them to better retain their juices. 

Salt essentially dissolves the protein strands and allows them to absorb and retain water better as they cook. 

The juices are drawn out, and then a brine forms, and that is reabsorbed by the meat. 

How Much Salt Do I Really Need? 

Generally speaking you’ll need 1 teaspoon of Kosher salt per pound of chicken.

In this recipe, I use a bit more salt but that is personal preference. 

juicy baked chicken

How Far in Advance Should I Salt my Chicken?

Salt your chicken at least 6 hours in advance but ideally 1-2 days before. If you forget to salt your chicken until an hour or two before you’re cooking it, it’s better than using no salt! 

By seasoning well in advance, the salt has time to diffuse evenly throughout the meat. If you wait until just before cooking your chicken, you would need to use more salt. 

Better to salt too late than not at all!

Wait – Is my Chicken Going to be Salty?

I get it – there’s nothing worse than over-salted food. No, your finished product will not taste salty, I promise! The salt enhances the meat and creates a rich and enhanced texture and flavor. 

juicy baked chicken

Importance of Pre-Seasoning the Chicken

As with your salt, you want to pre-season the chicken in advance. Sure, you can rub the seasoning (spices, herbs, etc.) on right before cooking but you won’t achieve the same flavor. 

By seasoning the chicken well in advance (when you do the salt), the seasoning has time to penetrate the chicken. 

Before Baking the Chicken – Let it Come to Room Temp!

My (almost) last tip for achieving juicy baked chicken is to remove it from the refrigerator for about 30 minutes before baking it. You can do this when you preheat your oven. 

It’s a little counter-intuitive to let raw meat sit out, but I promise it’s okay and will yield far better results. 

Allowing the meat to come partially to room temp allows the chicken to remain juicy and not get dried out in the oven. If the interior is ice cold, the chicken will take longer to bake resulting in a more dry chicken breast. 

You didn’t salt your chicken 24 hours in advance to risk dry chicken!

Caution: I wouldn’t leave the chicken to sit out for tooo long because you run the risk of bacteria developing. 

How do I Know When My Chicken is Done?

I know there are chefs who probably could poke the meat with a skewer and tell you it’s done. But for the home cook, the best method is just to insert a meat thermometer in the thickest part of the meat and check for doneness. 

Once the meat reaches 165 degrees Fahrenheit, it’s good to go. I like to pull mine once it’s about 160-162 degrees, as it continues cooking once it’s removed from the oven. Some sources say that it will continue to cook about 10 degrees. 

Let it Rest!

As with most meats, you should allow it to rest once you remove it from the oven or heat. The juices can have a chance to reabsorb back into the meat.  

Give it about 5-10 minutes before slicing in to make sure you’re retaining the juiciness you’ve worked so hard to achieve! 


juicy baked chicken

Juicy Baked Chicken

Moist, tender chicken baked with an easy sweet and savory seasoning mix. A staple chicken recipe to use for salads, meal prep, or dinner.
Prep Time 10 minutes
Cook Time 20 minutes
Resting time 12 hours
Total Time 12 hours 30 minutes
Course Main Course
Cuisine American
Servings 8
Calories 200 kcal

Equipment

  • 1 baking sheet or pan, lined with

Ingredients
  

Chicken Prep (12-24 hours in advance)

  • 2 pounds chicken breasts (about 5 medium), pounded 1/2 inch thick
  • 3 teaspoons Diamond Crystal Kosher salt, adjust as needed to coat

Chicken Seasoning Mix

  • 2 tablespoons brown sugar
  • 1 teaspoon smoked paprika
  • 1 teaspoon chili powder
  • 1 teaspoon dried oregano, parsley, or Italian seasoning
  • 1 teaspoon garlic powder
  • 1 teaspoon onion powder
  • 1/4 teaspoon cinnamon
  • 1/2 teaspoon table salt
  • dash black pepper, to taste
  • 2 teaspoon olive oil

Instructions
 

  • At least 12 hours in advance, and up to 24 hours, pound the chicken to 3/4 to 1/2 inch thickness using a mallet or a rolling pin. in a large bowl, toss the chicken with 1-2 tablespoons of salt (see notes), and rub the salt into the chicken breasts to coat evenly.
  • In a small bowl, combine the dry ingredients for the rub. Coat each chicken breast on both sides with the rub, massaging it in with your fingers. Drizzle the olive oil on top of the chicken breasts, and toss to coat. Cover tightly with plastic wrap, or transfer to an airtight container, and place in the refrigerator.
  • 30 minutes prior to baking the chicken, remove it from the refrigerator. Preheat your oven to 425° F and adjust your rack in the middle of the oven. Line a tray with tin foil and coat lightly with cooking spray or use parchment paper. Transfer the chicken breast to the prepared baking sheet.
  • Bake the chicken for approximately 18-20 minutes, or until they reach an internal temperature of 165° F (using a meat thermometer).
  • Remove the chicken from the oven, and transfer to a cutting board or plate. Allow the chicken to rest for 5 to 10 minutes before slicing.

Notes

Seasoning adapted from Fit Foodie Finds, Homemade Dry Rub for Chicken 
  • Salt - When salting the chicken overnight, use Diamond Crystal Kosher salt. Absolutely do not use table salt for this component, or you may be left with an overly-salty chicken breast. Alternatively, if you only have Morton's Kosher salt on hand, that is fine to use but you must scale the salt back a touch as Morton's is more salty than Diamond. 
  • This recipe is great to prepare the night before. But, if you don't have 12 hours to wait, to try salting the chicken at least an hour before baking it to allow time for the salt to work its magic. 
  • When testing the internal temperature of the chicken, if you pull it around 162 F, the chicken will retain heat and continue cooking while it rests to hit 165 F. No more dry chicken!
Keyword Chicken, Healthy, Meal Prep, quick and easy

You may also like

Leave a Comment

Recipe Rating


This website uses cookies to improve your experience. We'll assume you're ok with this, but you can opt-out if you wish. Accept Read More

Privacy & Cookies Policy