


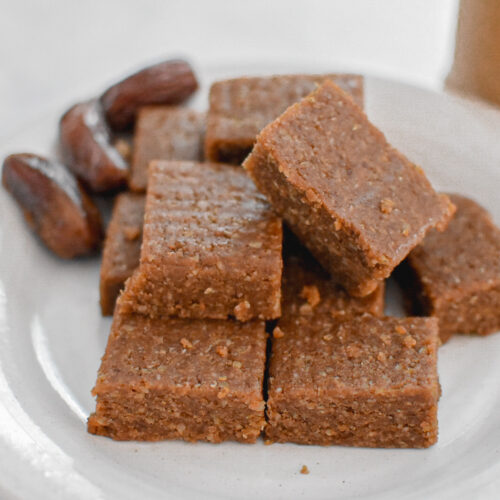
No Bake Protein Bites
These homemade protein bites are so easy, wholesome, and nutritious. Perfect for a hike, morning pick-me-up, or a little something sweet. A small-batch recipe, and only 100 calories a serving!
Equipment
- 9 x 5 inch loaf pan
- Food processor
Ingredients
- 1/2 cup creamy natural peanut butter
- 1 cup rolled oats
- 10 pitted dates, soaked in water and drained
- 1 scoop (30g) vanilla whey protein powder (see notes)
- 1 tablespoon ground flaxseed
- 1 tablespoon molassess
- 1/2 tablespoon honey or maple syrup, adjust to taste
- 1 teaspoon vanilla extract
- 1 teaspoon cinnamon
- 1/4 teaspoon Diamond Crystal Kosher salt
- 2 tablespoons almond milk (or non-dairy milk of choice), adjust as needed
Optional Mix-Ins & Ideas
- 1 ounce dark chocolate, finely chopped
- 1/4 cup mini chocolate chips
- 1/4 cup shredded unsweetened coconut, chopped finely
- 1/4 cup chopped dried figs
Instructions
- Line a 9 x 5 inch loaf pan with parchment paper or aluminum foil lightly coated in cooking spray and set aside.
- In a food processor fitted with a steel blade, pulse the oats until ground into flour. It is okay if there are still some chunks of oats.
- To the food processor, add the peanut butter, ground flax, dates, molasses, honey, salt, vanilla, cinnamon, and protein powder. Pulse to combine. Add 1 tablespoon of almond milk at a time. The mixture should start to come together. Add more almond milk as needed. When you pinch the mixture, it should stick together but not be too sticky.
- Remove the mixture from the food processor. Select 1/4 to 1/3 cup of your favorite mix-ins (optional) and stir to combine. Press the mixture in the bottom of the prepared pan and let rest in the refrigerator for at least 30 minutes. Cut into 8 bars (I cut little squares) and enjoy!
- Store in an airtight container in the refrigerator for up to a week or up to three months in the freezer (see notes for tips).
Notes
- This recipe can be double and made in an 8 x 8 inch baking pan.
- Protein powder - This recipe calls for whey protein powder. Other types of protein powder may be used, but they might alter the flavor.
- Storing tips - I like to wrap each individual bar in plastic wrap, store them in a large freezer bag, and take them out to enjoy them as needed.
