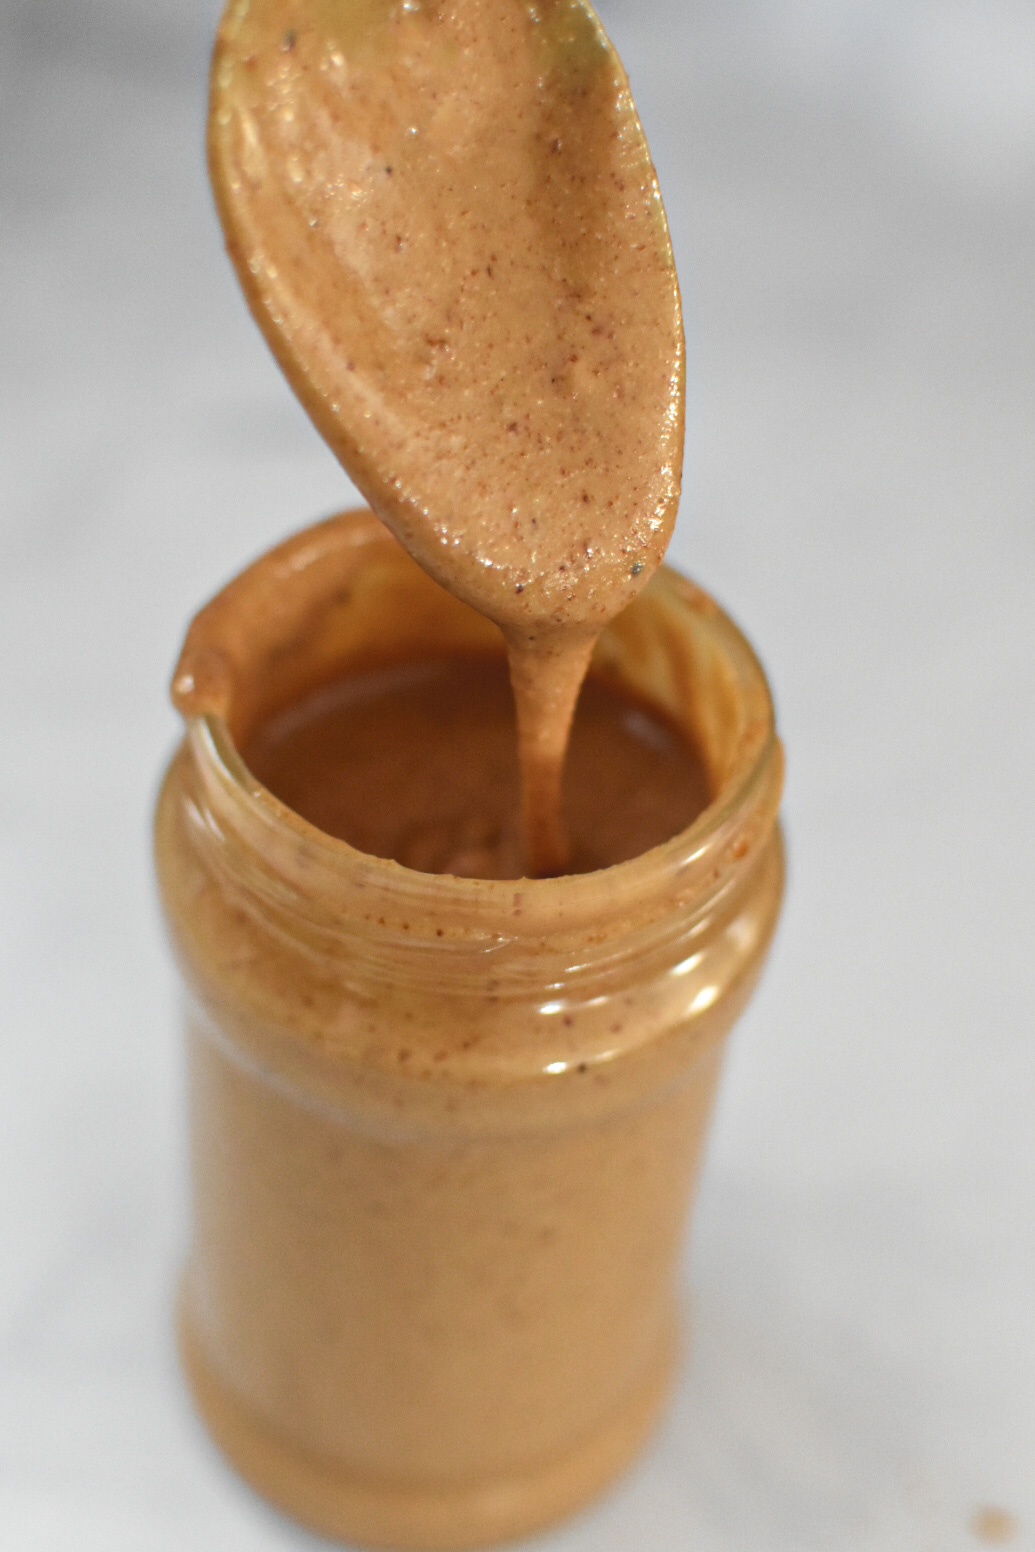
Looking for the perfect homemade peanut butter recipe? This Creamy Homemade Peanut Butter is made with roasted peanuts, minimal optional ingredients, and no preservatives. It’s smooth, drippy, naturally sweet, and ridiculously easy to make in just 10 minutes!
My husband and I received a food processor as a gift a few years ago, and it quickly became a game-changer in our kitchen. At the time, we lived in a tiny apartment with an even smaller kitchen, so I probably wouldn’t have bought one myself. But despite the lack of counter space, this handy appliance became one of my all-time favorites.
The very first recipe I tried with it? Peanut butter. Living in a rural area with the nearest grocery store 30 minutes away meant convenience was key.
Thankfully, the dollar store down the road stocked peanuts, and I’ve been making fresh, creamy homemade peanut butter ever since. It’s quick, customizable, and so much better than anything store-bought. Now, I can’t imagine going a week without a jar of my own delicious peanut butter in the pantry.
Let’s dive into why you’ll love making your own peanut butter, too!


Table of Contents
Why You’ll Love this Homemade Peanut Butter Recipe:
- Healthy and Natural: No additives or preservatives, just wholesome goodness.
- Customizable: Adjust the sweetness, saltiness, or add fun flavors like cinnamon or vanilla.
- Cost-Effective: Making peanut butter at home saves money and tastes even better than store-bought!
Ingredients to Make Homemade Peanut Butter
Really… you only need one ingredient for this recipe: roasted peanuts! For extra flavor, you can also add:
- Salt (to taste)
- 1 tablespoon honey (if using regular roasted peanuts)
- 1 teaspoon cinnamon
- 1 teaspoon vanilla extract
- Melted white or dark chocolate (optional, for an indulgent twist
How to Make Creamy Peanut Butter
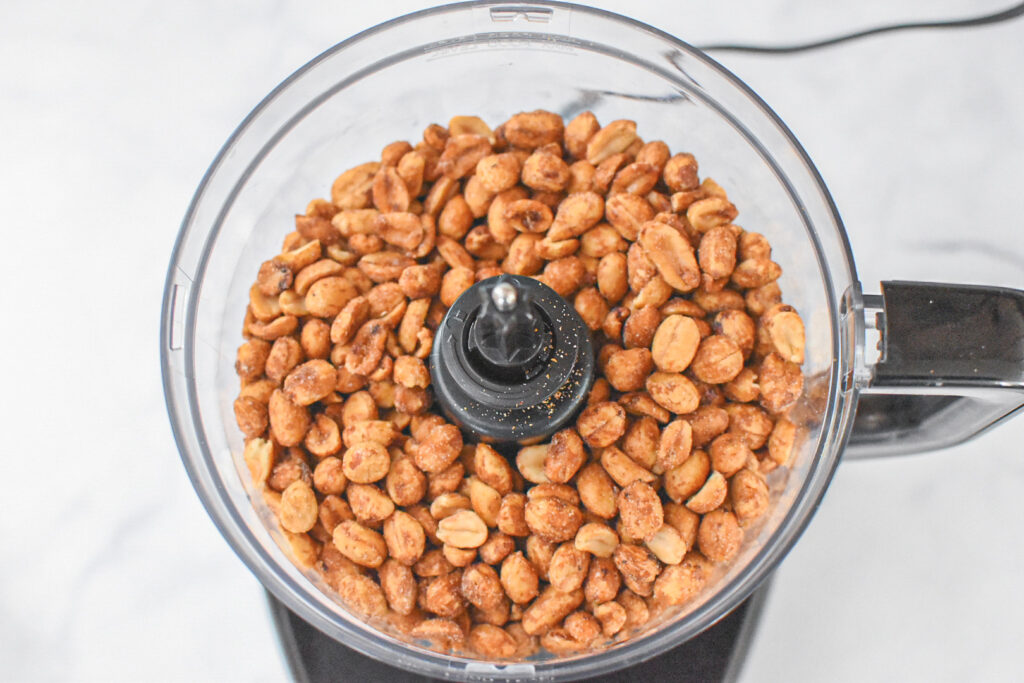
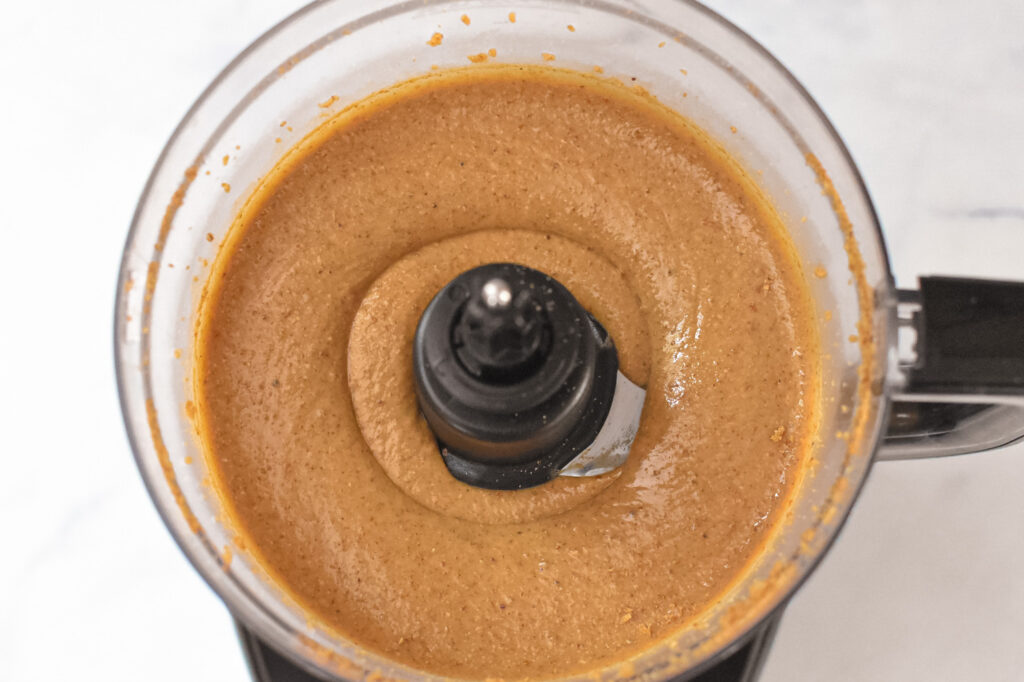
- Add 2 cups of roasted peanuts to a food processor and blend until smooth, about 7–10 minutes.
- Stop occasionally to scrape down the sides for even blending.
- If desired, add honey, cinnamon, or vanilla, and blend briefly to combine.
- Transfer to an airtight container and let cool before sealing.
Storage Tips
Homemade peanut butter is fresh and free from preservatives, so proper storage is key:
- Store at room temperature in a cool, dry place for up to 2 weeks.
- For longer storage, refrigerate it for up to 1 month. The texture may thicken in the fridge, but letting it sit at room temperature for a few minutes will soften it.
Frequently Asked Questions
1. How long does it take to make peanut butter in a food processor?
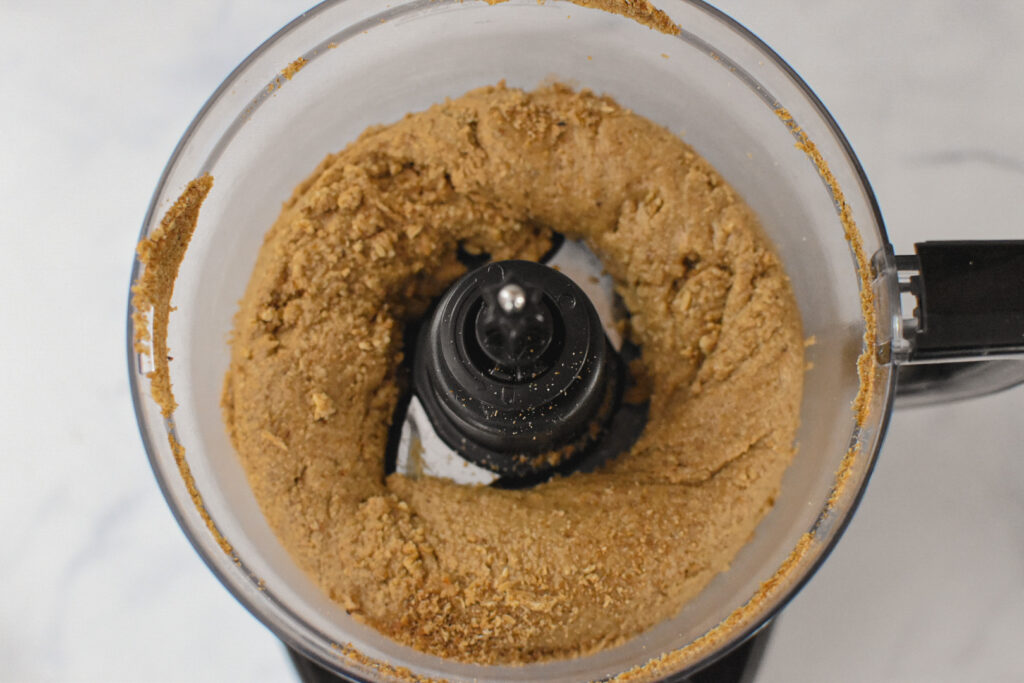
It typically takes about 7–10 minutes. Be patient! The peanuts will go through stages of texture before becoming creamy and smooth.
2. Can I use salted peanuts?
Yes, salted peanuts work well. Just adjust the added salt accordingly to taste.
3. How do I make chocolate peanut butter?
Simply mix in melted white or dark chocolate after blending for a delicious chocolatey variation.
If you loved this Homemade Peanut Butter Recipe, don’t forget to leave a 5-star 🌟🌟🌟🌟🌟 rating in the recipe card below! We’d love to hear from you—leave a comment to let us know how you enjoyed it!

Creamy Homemade Peanut Butter Recipe
Equipment
- food processor (or high powered blender)
Ingredients
- 2 cups (292 g) roasted peanuts or honey roasted peanuts, ensure they are shelled
Optional
- salt, to taste
- 1 tablespoon (21 g) honey (if using regular roasted), optional
- 1 teaspoon cinnamon, optional
- 1 teaspoon vanilla, optional
Instructions
- Process the Peanuts: Place the peanuts in a food processor. Start blending and watch the magic happen! At first, the peanuts will look crumbly. Then they’ll form a dough-like ball, and finally, they’ll break down into smooth, creamy peanut butter. This process can take up to 10 or more minutes, depending on your food processor. Stop and scrape down the sides as needed to keep everything blending evenly.
- Add Mix-Ins: Once the peanut butter is smooth, you can leave it as is or mix in optional ingredients like honey, cinnamon, or vanilla for a flavor boost. For an indulgent twist, drizzle melted chocolate on top or mix it in.
- Storage: Transfer the peanut butter to a jar or airtight container. Let it cool before sealing to avoid condensation. Ensure the container is dry and the lid is tightly sealed to prevent condensation, which can affect the quality and freshness.If you plan to use it quickly, store the peanut butter in an airtight jar or container at room temperature in a cool, dry place. It will stay fresh for about 2 weeks.For longer storage, keep it in the refrigerator. Homemade peanut butter can last for about 1 month when refrigerated. The texture may thicken slightly when chilled, so allow it to sit at room temperature for a few minutes before use to soften.
Notes
- Storage: Store your peanut butter at room temperature in a cool, dry place for up to 2 weeks or in the fridge for about a month.
- Yield: This recipe makes about 1 to 1¼ cups of peanut butter.
- Pro Tip: Keep blending longer than you think necessary for the smoothest texture—when in doubt, blend another minute or two!

1 comment
So so so easy!! I am never buying peanut butter at the store again. My food processor isn’t very strong so I had to blend it for a bit longer than I though it would take, but the wait was worth it.