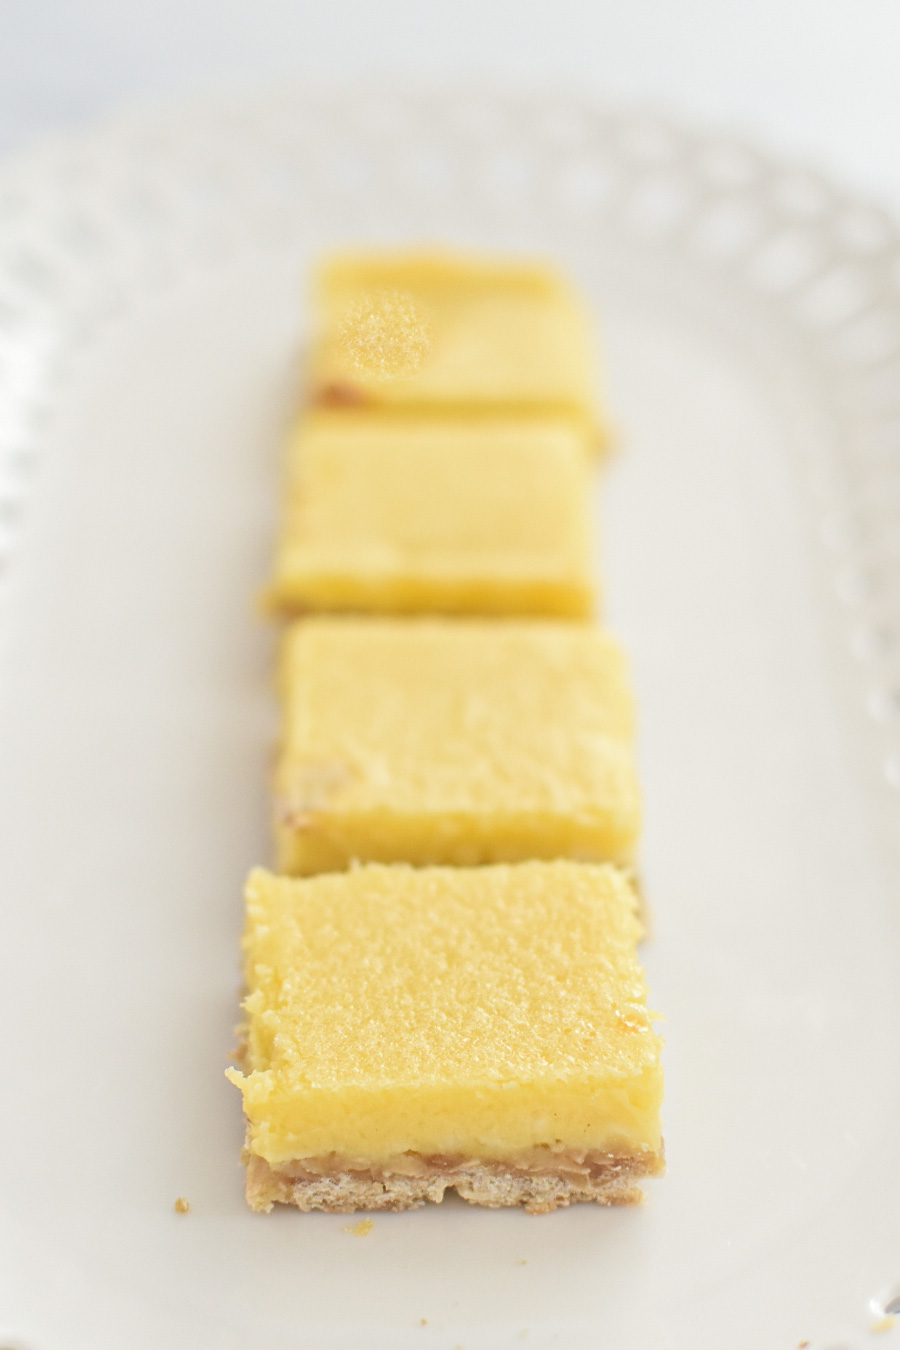
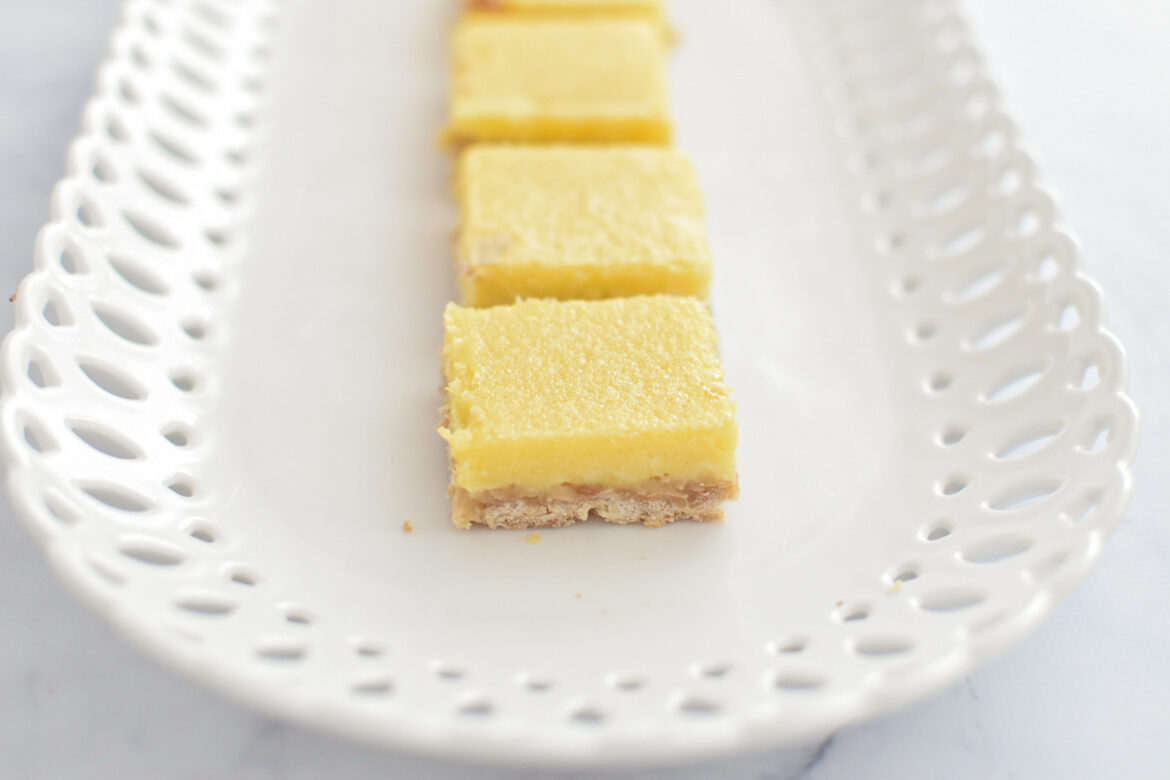
Coconut Lime Bars combine the rich, nutty flavor of toasted coconut with the bright, zesty tang of lime. This easy-to-make dessert offers a tropical twist on classic lemon bars, perfect for any occasion.
Last month when my mom and I took a baking class at the King Arthur Baking Company school, Coconut Lime Bars were one of the three delicious bars we made.
Craving a delicious twist on classic lemon bars? Coconut Lime Bars are your answer! These bars feature a buttery toasted coconut crust topped with a slightly tangy cream cheese and lime filling. The tropical flavors and creamy texture elevate this dessert beyond your usual lemon bars.
Why You’ll Love Coconut Lime Bars
- Easy to Make: With simple ingredients and straightforward steps, these bars come together quickly.
- Perfect Balance: The creamy, slightly tangy filling paired with the nutty coconut crust makes for a balanced, irresistible treat.
- Versatile: Whether you’re serving them at a party or enjoying them as a personal treat, these Coconut Lime Bars are sure to impress!

Tips for Perfect Coconut Lime Bars
- Zest the Lime Properly: Use a microplane and only zest the colored portion of the lime skin. Avoid the white part, which is bitter.
- Toast the Coconut Carefully: Toasting coconut can be tricky! Toss it periodically to ensure even browning without burning.
- Don’t Overbake: As with any custard-based dessert, remove the bars from the oven when the center still jiggles slightly. Overbaking can cause cracks.
- Let Them Chill Completely: Cool the bars fully before cutting to ensure clean, perfect slices. A damp knife helps.

Substitutions and Modifications:
-
- Lemon for Lime: If you don’t have limes, you can substitute them with lemons in a 1:1 ratio. However, lime gives these bars their distinct, refreshing flavor.
- Butter Instead of Coconut Oil: Swap coconut oil for butter if needed, but you’ll lose the tropical aroma and flavor.
- White Sugar Instead of Brown: Brown sugar adds a deeper flavor that complements the toasted coconut. If you prefer, you can swap it for white sugar, but the flavor will change.
- Fresh vs. Bottled Lime Juice: Fresh lime juice is recommended for its bright, vibrant flavor, but bottled lime juice can be used in a pinch if it’s pure lime juice.
How to Store Coconut Lime Bars
Store your Coconut Lime Bars in an airtight container in the refrigerator. They should last 3-5 days.
Freezing Coconut Lime Bars:
To freeze, wrap the bars tightly in plastic wrap, then in tin foil or a freezer bag. To defrost, simply bring them to room temperature before serving.
Other Bar Recipes You’ll Love:
If you loved these Coconut Lime Bars, don’t forget to leave a 5-star 🌟🌟🌟🌟🌟 rating in the recipe card below! We’d love to hear from you—leave a comment to let us know how you enjoyed it!

Coconut Lime Bars
Equipment
- 1 8 x 8-inch square metal pan
Ingredients
Crust
- 1/2 cup (60 g) all-purpose flour
- 3/4 cup (43 g) unsweetened shredded coconut, lightly toasted
- 1/4 cup (53 g) brown sugar
- 1/2 teaspoon Diamond Crystal Kosher salt, see notes
- 3 tablespoons (37 g) coconut oil, melted
Filling
- 1/2 cup (114 g) cream cheese, room temperature
- 3/4 cup (149 g) sugar
- 1 tablespoon (8 g) all-purpose flour
- 2 eggs, room temperature
- 1/4 cup (118 g) fresh lime juice (2-3 limes)
- 1/2 teaspoon lime zest
Instructions
Make the Crust
- Heat the oven to 350°F (175°C). Spray an 8-inch square nonstick pan with non-stick spray and set aside.
- In a medium bowl, combine the flour, coconut, brown sugar, salt, and coconut oil. The mixture may be a bit crumbly, but that's okay! Press the mixture into the prepared pan using your fingers. Bake the crust for 15 minutes. The crust will be firm, fragrant, and just beginning to brown. Remove and set aside to cool while you make the filling.
Make the Filling
- In the bowl of an electric mixer fitted with a paddle attachment, beat the cream cheese and sugar until it is smooth. Add the flour and stir to combine. Make sure there are no lumps of cream cheese. Stop the mixer a few times to scrape down the sides of the bowl.
- While the mixer is on a low speed, add the eggs one at a time, scraping down the sides of the bowl as needed. Add the lime juice and zest. Mix until combined. Scrape down the sides of the bowl to ensure everything is fully incorporated.
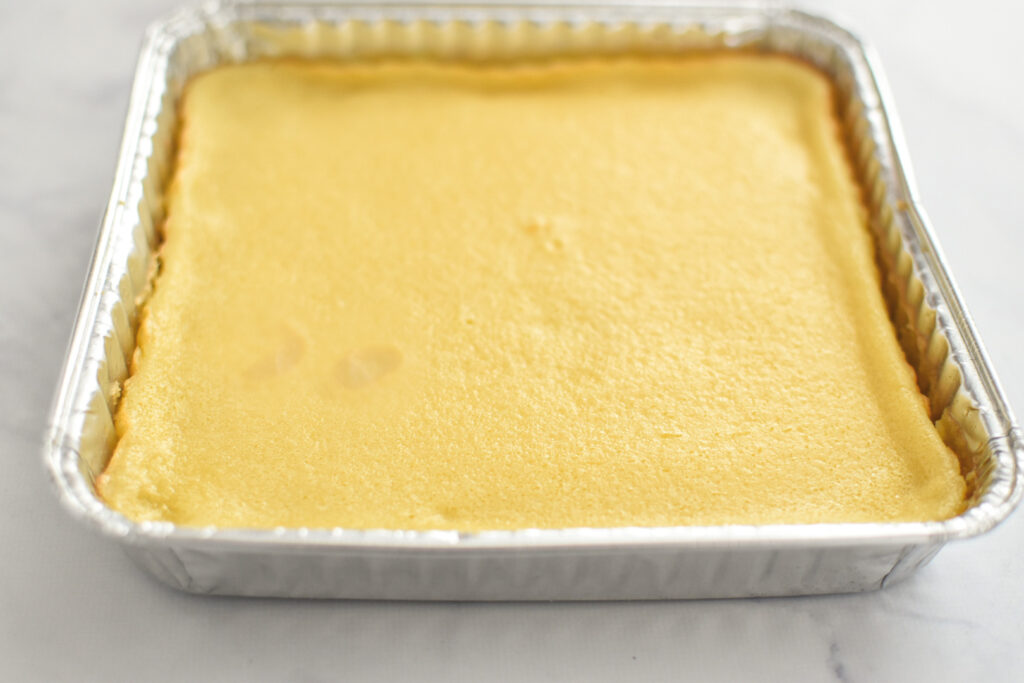
- Pour the filling into the baked crust and return it to the oven. Bake for about 15 minutes or until the filling is set around the edges, but the center should still be slightly jiggly when gently tapped.Important: Do not bake the filling until it’s fully firm all the way through. If you wait until the filling is completely set, the bars are more likely to crack as they cool. The filling should have a slight wobble in the center when tapped—this ensures the bars will have the perfect texture once cooled.
- Allow the bars to cool completely, then cover tightly with saran wrap and transfer to the refrigerator. The bars are easy to cut when they are very cold.
- Store the bars covered tightly with plastic wrap or in an airtight container for up to 5 days. Freezing is not recommended.

